
A feeler gauge is an important tool to ensure measurement accuracy and repeatability on a variety of products. It allows a user to accurately measure the gaps between two pieces of material or a range of possible readings on an object. The feeler gauge features a set of blades in graduated sizes that are available in both imperial or metric measurement increments.
It’s crucial to understand how to read this tool, as it plays an integral role in many applications where precision is essential. This guide outlines the basic principles of using and interpreting the measurements from a feeler gauge including how to read decimal measurements, fractions, and millimeters.
What is a Feeler Gauge?
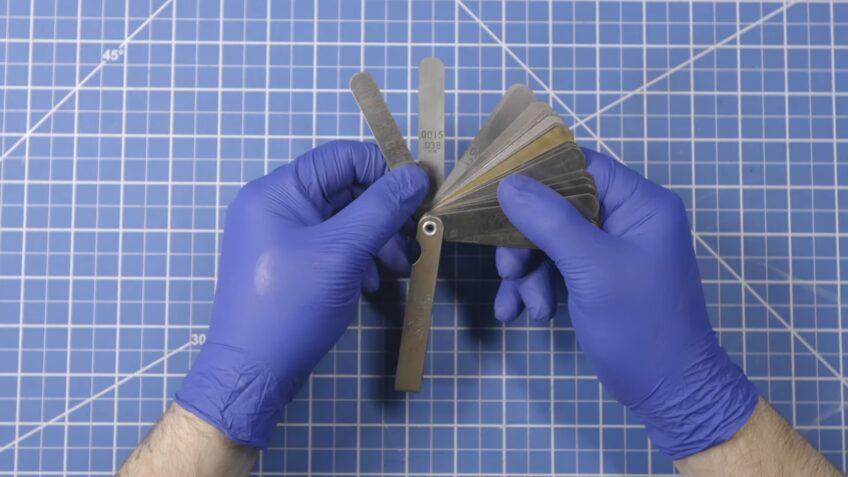
It is a measuring device used to measure the size of a gap or slot between two objects. It consists of a bunch of blade-shaped, pointed metal strips, each of which has a different thickness. The size of the gap is determined by inserting blades one at a time until there’s just enough friction to hold it in place. The thickness of the blade that fits best gives you the size measurement you’re looking for. They are incredibly useful for accurate measurements in tight spaces and can be used for countless jobs, including inspecting spark plug gaps and adjusting valves.
They come in different sizes and shapes depending on what kind of measurements you need to make. Generally, they consist of straight or bent blades made out of stainless steel or hardened steel, with sizes ranging from 0.0015 inches to 0.035 inches (0.04 mm – 0.9 mm). The feeler gauge set will usually have imperial measurement increments (in inches) as well as metric measurements printed on the back side so you have an easier time determining subsequent measurements when using it more than once over a period of time.
Types of Feeler Gauges
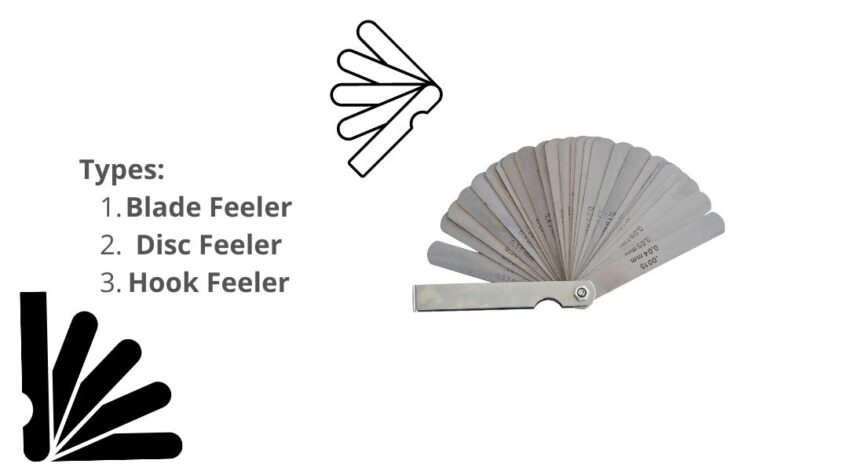
There are several different types and sizes of feeler gauges available, each with its own unique features and range of applications.
Let’s explore the different types of feeler gauges and the tools they can be used for.
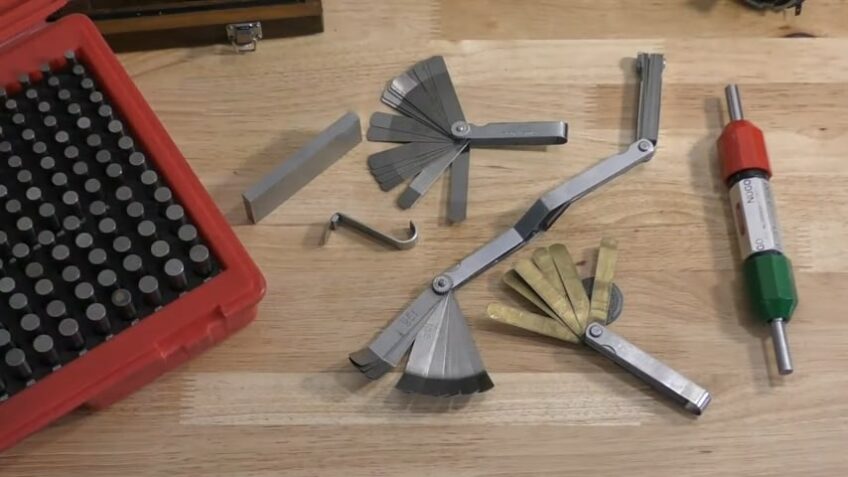
Blade Feeler
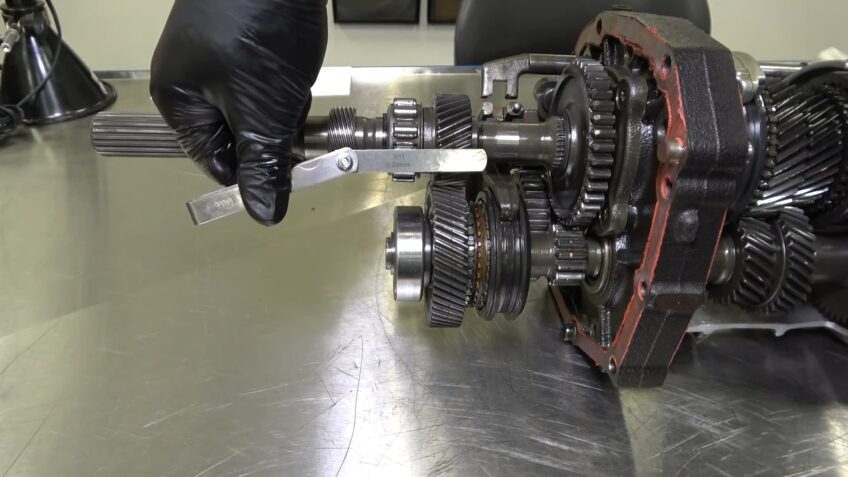
It is a precision measuring instrument used to measure narrow slots and gaps, typically in engines. Blade feeler gauges are composed of a series of blades or strips of steel or other materials of predetermined thicknesses. As each blade fits in the slot accurately, its type is identified on the handle or label. The use of feeler gauges helps with the accurate setup and troubleshooting of machines, especially those involving internal combustion such as automotive engines.
Blade feeler gauges have graduated markings etched into their handles or labels that indicate the approximate thickness range for each blade. This allows users to figure out if the gap measurement falls within an acceptable range for the application at hand without having to take any additional measurements with calipers or micrometers. This makes them a convenient and cost-effective tool for quick and efficient setup and repair jobs.
They come in many sizes, shapes, and designs such as metric/inch sets, single blades/stripes, combinations/sets, and progressive sets (double/triple). They may also be equipped with slides that allow multiple blades to be adjusted simultaneously in order to obtain precise readings while maintaining accuracy levels even in tight tolerances.
Disc Feeler
Disc Feeler Gauges are particularly good for measuring gaps in hard-to-reach places. They have several individual blades which spread fan-like when pushed in together, giving greater flexibility than a standard feeler gauge. Each blade is graduated with a thickness measurement that can be read when the blade is pulled away or retracted.
They can be made of either stainless steel or high-grade carbon steel and are often used in automotive and mechanical engineering repairs and inspections. When using a Disc Feeler it’s important to observe correct metrology procedures, such as zeroing before use, to ensure the accuracy of readings taken.
Hook Feeler
Hook feeler gauges are long shapes of metal with a hook-shaped end. These tools are used to get into tight areas or in between surfaces and measure the gap or gauge. A hook feeler gauge is made of thin metal blades that have a range of thicknesses. The most common sizes for these gauges range from .004″ to .035″, though larger ones can be found as well.
They are often used in engines and transmissions to identify the wear level and gaps between moving parts, helping mechanics determine whether something needs adjustment or replacement. To use the gauge, insert it into the gap until you reach resistance; then read off the size indicated at the edge of the opening. This reading will tell you whether any reshaping, realigning, tightening, or loosening needs to take place to ensure proper performance.
How to Read the tool
Learning how to interpret a feeler gauge can help you measure the gap accurately and quickly.
Let’s discuss the basics of reading a feeler gauge.
Measure the Gap
Using a feeler gauge is a simple process that can provide extremely accurate measurements. When measuring a gap, start with the widest feeler gauge you think will fit in the gap and check it for fit. If it does not fit, move on to the next size thinner and try again until you find one that fits. Once you have found one that fits, read the value indicated on the feeler gauge. This value is how wide the gap is.
You should note that if multiple feeler gauges fit, such as 0.006” and 0.008”, then the width of the gap would be somewhere between those numbers. It can also be helpful to use multiple sizes to better estimate a more accurate value when measuring very small gaps when dealing with tight tolerances or if measurements need to be particularly precise for specific tasks.
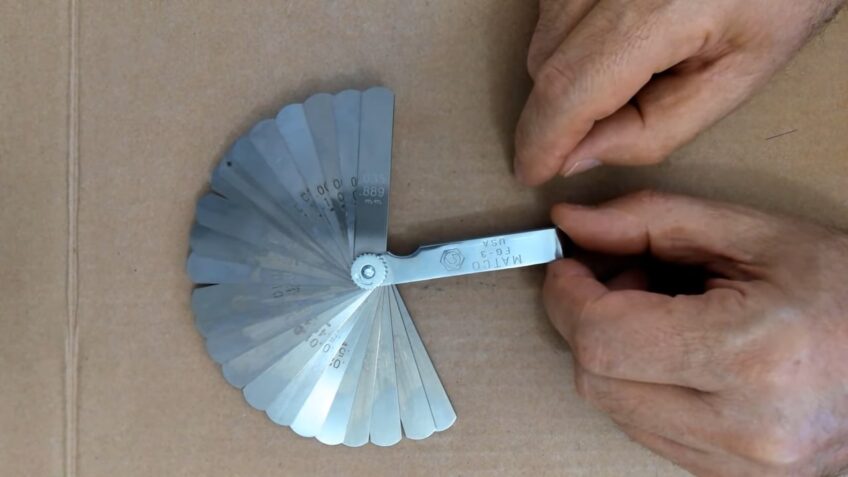
Read the Scale
When you purchase a feeler gauge, you will notice that there is both a decimal scale and an imperial scale printed along the side. The purpose of both these scales is to provide a very accurate record of the thickness of the various blades in your feeler gauge set.
Before reading either of these scales, it’s important to understand what each type represents. The decimal scale generally ranges from 0 to 1.0 and indicates the blade size in millimeters (mm). So if your feeler gauge reads “0.50 mm” that would mean that the thickness of the blade is 0.5 millimeters thick. The imperial scale begins with “00” (no thickness) and progresses up from “1” (1-thousandth of an inch) through “32” (32-thousandths of an inch). This allows for very precise measurement down to as little as 1/1000th of an inch increment accuracy!
Using both these scales together provides flexibility in determining the size and thickness of the gap when measuring shimmed applications or cylinder head assembly clearances for automotive repairs. It also allows for more accurate measurements which can save time, and money and help reduce errors in any repair shop setting or auto body shop environment where precision is critical!
Determine the Thickness
To measure the thickness of a surface with a feeler gauge, first, take the gauge and slide its tip over the surface. The pressure your hand exerts will help determine any tightness or looseness for accuracy. Once you have the thickness determined, look at the tables of measurements with the printed numbers on them. Each blade has a gap measurement that is stamped on it; use this measurement to determine which number from the table corresponds to your measurement read from the feeler gauge.
It is also important to note that most feeler gauges are flexible and can be bent around irregular surfaces like cam lobes, connecting rods, and other machined surfaces in order to measure their clearance accurately. With experience, you should be able to recognize these from just sight. If in question use a flat file as an extra comparison check before making any decisions or adjustments based on readings taken from the feeler gauge.
Advanced techniques for using a feeler gauge in precision applications
They can be particularly useful in achieving precise measurements. One of the most important advanced techniques for using a feeler gauge is to use the appropriate pressure when inserting the blade. Applying too much pressure can result in an incorrect measurement due to the distortion of the gap being measured. On the other hand, applying too little pressure can result in the blade not being fully inserted, leading to an inaccurate reading.
Another technique is to use the correct blade for the specific gap being measured. While feeler gauges usually come with a range of blades of different thicknesses, sometimes the gap being measured may require a blade that is not part of the standard set. In this case, it is important to select a blade that is as close to the required thickness as possible to ensure accuracy.
Finally, keeping the blades clean and properly stored is essential for accurate measurements. Dirty or damaged blades can result in erroneous readings, so it is important to clean the blades after each use and store them properly in a protective case to avoid damage. By following these advanced techniques, users can achieve accurate and precise measurements with a feeler gauge.
Common mistakes to avoid
While it can be a useful tool for measuring small gaps, there are a few common mistakes that can compromise its accuracy. One mistake is not cleaning the surfaces before measuring. Dirt and debris can prevent the feeler gauge from fitting snugly into the gap, leading to inaccurate readings.
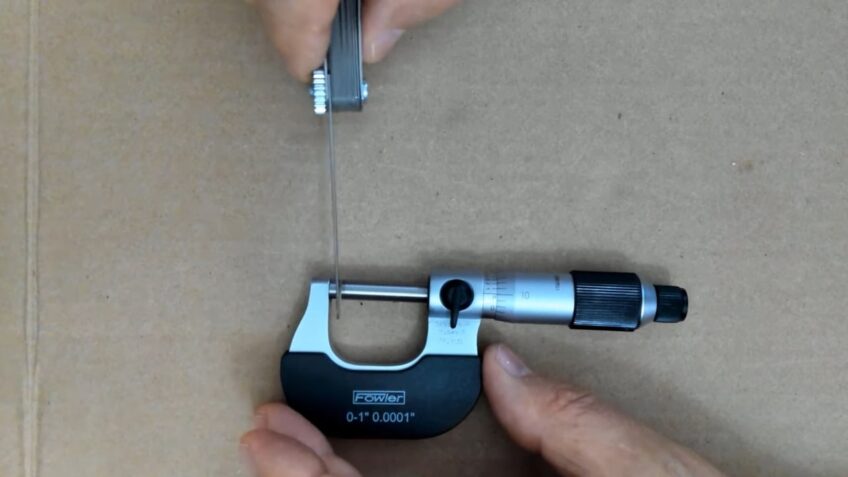
Another mistake is not checking the thickness of the blades before use. Over time, blades can become worn or damaged, affecting their thickness and accuracy. It’s important to check each blade for wear and replace any that are worn out. Another mistake to avoid is using too much force when inserting the gauge. This can cause the blades to bend or distort, leading to incorrect measurements. Instead, gently slide the gauge into the gap until it fits snugly, without forcing it in.
Finally, it’s important to select the correct blade for the job. Using a blade that is too thick or too thin can lead to inaccurate measurements, so always consult the manufacturer’s guidelines or consult a professional if you’re unsure. By avoiding these common mistakes, you can ensure that your feeler gauge is accurate and reliable.
Conclusion
Reading a feeler gauge is an important task for people who work with many types of engines as well as mechanics, technicians, and machinists. Understanding how to read feeler gauges and use them correctly will enable you to check the clearance of valves and other components that need a tight tolerance. With patience, proper selection of the right blade thickness, and careful measurement, you can make sure that the items in your engine are working efficiently.
It is important to remember that feeler gauges should be used in tight spaces where other tools cannot fit; they should not be used as a replacement for measuring tools like micrometers or calipers when measurements need to be very precise. Also, it’s important to clean off any dirt or dirt buildup from the gaps in order for accurate readings. After this process, use the correct blade thickness on your feeler gauge according to what your engine manual recommends. With over 20 blades included in most sets of feeler gauges, selecting the correct blade was never easier!
FAQs
How do you maintain a feeler gauge?
To maintain it, keep it clean and dry when not in use and store it in a protective case or holder. It’s also important to periodically check the calibration and replace any worn or damaged blades.
Can you use a feeler gauge for other purposes?
While they are primarily designed for measuring clearances, they can also be used for other precision measurements, such as checking the gap in electrical contacts.
What are some common mistakes to avoid when using a feeler gauge?
Common mistakes to avoid include using the wrong blade thickness, applying too much or too little pressure, and not cleaning the blades between measurements.
How do you choose the right feeler gauge for the job?
Choose one with the appropriate blade thickness range and length for the job at hand. It’s also important to select a gauge with durable construction and easy-to-read markings.
Can feeler gauges be used for measuring thread pitch?
No, they are not suitable for measuring thread pitch. Use a thread pitch gauge instead.
Can feeler gauges be used for measuring distance?
They are not designed for measuring distances, as they are not accurate enough. Use a ruler or measuring tape for distance measurements.
How often should you replace feeler gauge blades?
Replace blades as needed if they become worn, damaged, or lose their calibration. It’s a good idea to check the calibration periodically, especially if you use the gauge frequently.
Are digital feeler gauges better than analog ones?
They are often more accurate and easier to read than analog gauges, but they may also be more expensive. Consider your needs and budget when choosing between the two.
Can you make your own feeler gauge?
While it is possible to make your own feeler gauge using thin pieces of metal, it is not recommended unless you have experience with precision machining and calibration. It’s generally better to purchase a high-quality gauge from a reputable manufacturer.